Science Experiments for Kids: 3 Fun Activities at Home
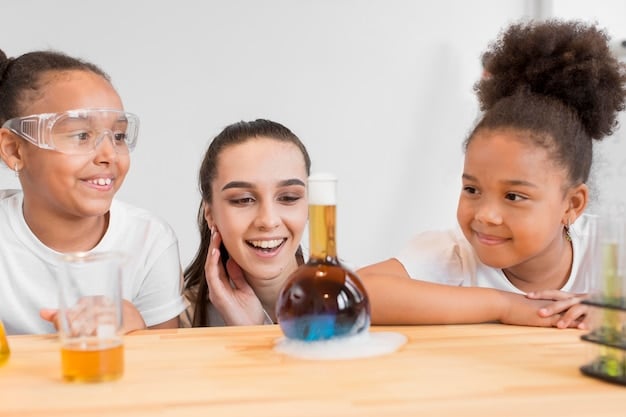
Discover three engaging and educational science experiments perfect for kids to conduct at home, using everyday materials, fostering curiosity and learning through hands-on activities.
Looking for exciting ways to make learning fun for your kids? Science Experiments at Home: 3 Fun and Educational Activities for Kids (Using Everyday Materials) can transform your living room into a fascinating laboratory where curiosity and education go hand in hand.
Unleash the Scientist Within: Why Home Experiments Matter
Home science experiments are more than just a fun activity; they are a powerful tool for fostering a love of learning and scientific inquiry in children. By engaging in hands-on experiments, kids can develop critical thinking skills, problem-solving abilities, and a deeper understanding of the world around them.
These activities provide a tangible way for kids to grasp abstract scientific concepts, making learning more accessible and memorable. Plus, the sense of accomplishment they feel after successfully completing an experiment can boost their confidence and encourage them to explore further.
Boosting STEM Skills Early On
Home science experiments play a vital role in early STEM (Science, Technology, Engineering, and Mathematics) education. They spark an interest in these subjects, laying a solid foundation for future academic success.
These experiments also encourage creativity and innovation as kids often tweak the procedures or come up with their own variations. This hands-on approach allows them to learn through trial and error, a crucial skill for any aspiring scientist.
- Develop Critical Thinking: Encouraging children to analyze results and draw conclusions.
- Enhance Problem-Solving Skills: Letting kids troubleshoot issues that arise during the experiment.
- Foster a Love for Learning: Making science fun and engaging, so kids are eager to learn more.
- Lay Foundation for STEM Fields: Introducing scientific concepts in an approachable way.
By fostering curiosity and promoting hands-on learning, these science experiments at home create a positive and engaging experience for kids, helping them develop a lifelong love for science.
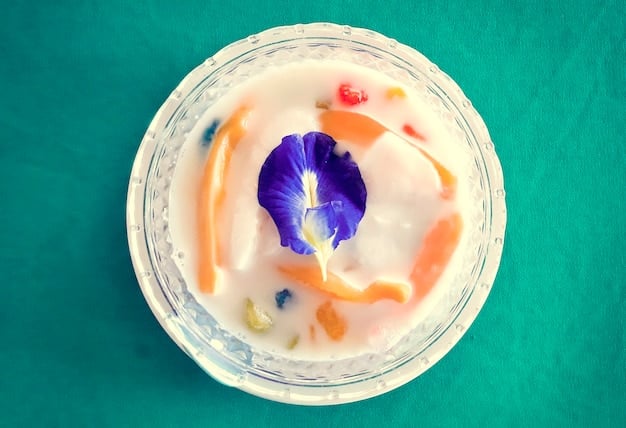
The Magic Milk Experiment: A Colorful Swirl of Science
The Magic Milk experiment is a visually captivating activity that demonstrates how dish soap interacts with fat molecules in milk. It’s a simple yet effective way to introduce kids to the concept of surface tension and chemical reactions.
This experiment uses readily available household materials, making it an accessible and fun option for a quick science lesson. The colorful swirls create a visually appealing result that will capture the interest of young scientists.
Materials You’ll Need
To conduct the Magic Milk experiment, gather the following materials:
- Milk: Whole milk or 2% milk works best due to the fat content.
- Dish Soap: Any standard dish soap will do.
- Food Coloring: A variety of colors to create vibrant swirls.
- Shallow Dish: A plate or shallow bowl to hold the milk.
- Cotton Swab: To apply the dish soap to the milk.
Step-by-Step Instructions
- Pour Milk: Pour a thin layer of milk into the shallow dish.
- Add Food Coloring: Place a few drops of different food coloring colors on the surface of the milk.
- Apply Dish Soap: Dip a cotton swab into dish soap and touch it to the center of the milk.
- Observe: Watch as the colors swirl and mix, creating a mesmerizing effect.
Explain to the kids that the dish soap breaks down the fat molecules in the milk, causing the colors to move and swirl. This demonstration creates a memorable visual representation of a chemical reaction.
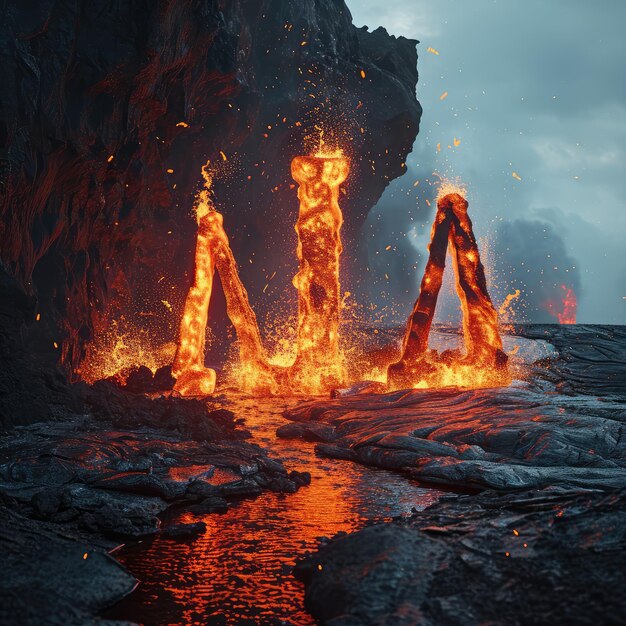
Baking Soda Volcano: Erupting Fun and Learning
The baking soda volcano is a classic science experiment that never fails to excite kids. This hands-on activity introduces basic concepts of chemical reactions and acid-base interactions in a fun and visually stimulating way.
By creating their own miniature volcano, children become active participants in the learning process, making the experiment more memorable and engaging. The dramatic eruption adds an element of surprise and excitement that captures their attention.
Building Your Volcano
Before you can erupt your volcano, you need to construct it. Here’s how:
- Materials: Gather a plastic bottle, baking soda, vinegar, dish soap, food coloring (optional), and modeling clay or playdough.
- Construct: Mold the clay or playdough around the bottle to create the shape of a volcano. Leave the bottle opening exposed.
Involve the kids in the building process. Not only does it make the experiment more engaging, but it also helps them develop their creativity and fine motor skills.
Creating the Eruption
Now, it’s time to make your volcano erupt!
- Add Baking Soda: Pour 1-2 tablespoons of baking soda into the bottle.
- Add Dish Soap and Food Coloring: Add a squirt of dish soap and a few drops of food coloring (if using).
- Pour Vinegar: Slowly pour vinegar into the bottle and watch the eruption!
Explain to the kids that the vinegar (an acid) reacts with the baking soda (a base), creating carbon dioxide gas. The gas builds up inside the bottle, causing the pressure to increase until it erupts out of the volcano. The dish soap helps create the foamy, lava-like effect.
This classic experiment is a memorable way to introduce chemistry. By making science experiments at home this entertaining it generates positive associations with scientific learning.
Homemade Lava Lamps: Groovy Science
Homemade lava lamps are a fascinating and visually appealing experiment that combines science with a touch of artistry. This project introduces kids to the concepts of density and convection in a fun and engaging way.
By building their own lava lamps, children gain a hands-on understanding of how different liquids interact based on their densities. The colorful, mesmerizing motion of the “lava” creates a captivating visual display that will mesmerize kids.
Gathering Your Supplies
Before you begin, make sure you have all the necessary materials:
- Plastic Bottle: A clear plastic bottle with a cap.
- Water: Tap water is sufficient.
- Vegetable Oil: Or any other clear oil with a different density than water.
- Food Coloring: To add color to the water.
- Alka-Seltzer Tablets: Or any effervescent tablets that release carbon dioxide.
Constructing Your Lava Lamp
- Fill the Bottle: Pour water into the bottle, filling it about ¼ full.
- Add Oil: Slowly pour vegetable oil into the bottle, filling it almost to the top. Leave some space at the top for the reaction.
- Add Food Coloring: Add a few drops of food coloring to the water. The color will stay in the water layer.
- Add Alka-Seltzer: Break an Alka-Seltzer tablet into smaller pieces and drop them into the bottle one at a time.
- Observe: Watch as the colored water forms bubbles and rises to the top, then falls back down, creating a lava lamp effect.
Explain to the kids that the oil and water don’t mix because they have different densities. The water is denser than the oil, so it settles at the bottom. When you add the Alka-Seltzer tablet, it reacts with the water to produce carbon dioxide gas. The gas bubbles attach to the colored water, making it rise to the top. Once the bubbles reach the top, the gas escapes, and the water becomes denser again, causing it to sink back down. This process creates the mesmerizing lava lamp effect.
These science experiments at home are an example of how to make learning fun while creating an enriching learning environment.
Safety First: Essential Tips for Home Experiments
While Science Experiments at Home: 3 Fun and Educational Activities for Kids (Using Everyday Materials) are fun and educational, it’s crucial to prioritize safety. Ensuring a safe environment allows children to explore and learn without risking harm.
Before starting any experiment, take the time to discuss safety guidelines with your kids. Emphasize the importance of following instructions, wearing appropriate safety gear, and asking for help when needed.
Essential Safety Tips
- Adult Supervision: Always have an adult present to supervise the experiments.
- Protective Gear: Wear safety goggles to protect eyes from splashes and spills.
- Clean Workspace: Keep the experiment area clean and free from clutter.
- Proper Ventilation: Conduct experiments in a well-ventilated area.
- Handling Chemicals: Handle chemicals with care and avoid mixing them without instructions.
By following these safety tips, you can create a safe and enjoyable learning environment for your kids.
What to Do in Case of Accidents
Despite taking precautions, accidents can still happen. Here’s what to do in case of an emergency:
- Eye Contact: If any chemicals get into the eyes, flush them immediately with plenty of water for at least 15 minutes.
- Skin Contact: Wash any affected skin with soap and water.
- Ingestion: If a chemical is ingested, call poison control immediately.
It’s also a good idea to have a first aid kit readily available in case of minor injuries.
| Key Point | Brief Description |
|---|---|
| 🧪 Magic Milk | Dish soap reveals fat interactions in milk, resulting in colorful swirls. |
| 🌋 Baking Soda Volcano | Baking soda and vinegar react, creating a foamy eruption. |
| 💡 Homemade Lava Lamps | Observe density differences with water, oil, and Alka-Seltzer. |
| 🚸 Safety | Always ensure adult supervision and protective gear during experiments. |
Frequently Asked Questions
▼
These experiments are generally suitable for children aged 6-12, with adult supervision. Adjustments can be made to simplify or complexify based on the child’s understanding and skill level.
▼
Yes, with proper adult supervision and adherence to safety guidelines. Ensure that all materials are handled carefully, and any potential hazards are minimized. Always follow instructions closely.
▼
Some substitutions are possible, but it’s important to ensure that the substitute material is safe and appropriate for the experiment. Check ahead before making material alternations.
▼
Encourage kids to research the scientific principles behind each experiment. Discuss the results, ask questions, and relate the concepts to real-world phenomena found in nature and common experience.
▼
Numerous books, websites, and online resources offer a wide range of engaging and educational science experiments for kids. Local libraries can be a prime learning resources with great books and guides.
Conclusion
Transforming your home into a science lab has never been easier! These three fun and educational activities offer a great way to engage your kids in hands-on learning, fostering curiosity, and developing important skills. Remember to prioritize safety and have fun exploring the wonders of science together!


