Batch Cooking for Babies: Prepare 3 Weeks of Purees in One Afternoon (2026 Guide)
As a parent, the journey of introducing solid foods to your little one is both exciting and, let’s be honest, a little daunting. The desire to provide the best, most nutritious meals clashes with the ever-present challenge of time. Between sleepless nights, endless diaper changes, and the myriad of other responsibilities, finding hours to meticulously prepare fresh baby food daily can feel like an impossible feat. This is where the magic of baby puree batch cooking comes into play, a game-changer for modern parents. Imagine preparing three weeks’ worth of healthy, homemade baby purees in just one afternoon. Sounds like a dream, right? Well, it’s not! With our comprehensive 2026 guide, we’ll walk you through every step, ensuring your baby gets the best while you reclaim precious moments for yourself.
The concept of baby puree batch cooking is simple yet revolutionary: dedicate a concentrated period to preparing larger quantities of food, then portion and store them for future use. This method not only saves an incredible amount of time during the week but also reduces stress, minimizes food waste, and ensures a consistent supply of wholesome meals for your growing infant. In an era where convenience often trumps quality, batch cooking allows you to deliver both. This guide is tailored for the modern parent, incorporating the latest recommendations and smart strategies to make your baby’s weaning journey as smooth and nutritious as possible.
We understand that the thought of spending an entire afternoon in the kitchen might initially feel overwhelming, especially when you’re already stretched thin. However, we promise that the long-term benefits far outweigh the initial investment of time. By the end of this guide, you’ll be equipped with the knowledge, tips, and confidence to become a baby puree batch cooking pro. Let’s dive into the world of efficient, healthy, and delicious baby food preparation!
Why Embrace Baby Puree Batch Cooking? The Unbeatable Benefits
Before we get into the nitty-gritty of how to prepare your baby puree batch, let’s explore why this method is gaining such immense popularity among parents worldwide. The advantages extend far beyond mere time-saving, impacting everything from your baby’s nutrition to your household budget and mental well-being.
Time Efficiency: Your Most Precious Commodity
Let’s face it, time is a luxury when you have a baby. Daily meal preparation for your little one can easily consume significant chunks of your day. With baby puree batch cooking, you consolidate all that effort into a single session. Instead of steaming, blending, and cleaning multiple times a week, you do it once. This frees up countless hours that can be spent bonding with your baby, catching up on sleep, or simply enjoying a moment of peace. The cumulative time saved over weeks and months is truly astonishing.
Nutritional Control: Knowing Exactly What Goes In
One of the primary motivations for making homemade baby food is to ensure your child receives the purest, most nutritious ingredients. When you’re in charge of the cooking, you control every single ingredient. This means no added sugars, no artificial preservatives, no excessive sodium, and no hidden fillers often found in commercial baby foods. You can select organic produce, tailor meals to your baby’s specific dietary needs or allergies, and introduce a wide variety of wholesome foods, promoting healthy eating habits from the very beginning. This level of nutritional control is invaluable, especially during the critical developmental stages of infancy.
Cost Savings: A Smarter Way to Feed Your Baby
Commercial baby food, while convenient, can quickly become an expensive line item in your grocery budget. The cost per serving for store-bought purees is significantly higher than homemade alternatives. By purchasing fresh, seasonal produce in larger quantities, often at lower prices, and preparing it yourself, you can realize substantial savings. This financial benefit makes baby puree batch cooking an economically sound choice for families looking to stretch their budget without compromising on quality.
Reduced Stress and Mental Load
Parenting is stressful enough without the added pressure of daily meal planning and preparation for your baby. Batch cooking alleviates this burden. Knowing you have a freezer full of ready-to-go meals provides immense peace of mind. It eliminates the last-minute scramble, reduces decision fatigue, and allows you to be more present and relaxed during feeding times. This reduction in mental load contributes significantly to overall parental well-being.
Variety and Exposure to Flavors
With batch cooking, you can easily prepare a diverse range of purees in one go. This allows you to introduce your baby to a wide spectrum of flavors, textures, and nutrients. Exposure to different tastes early on can help prevent pickiness later in life and foster a more adventurous palate. You can create single-ingredient purees to introduce new foods one at a time, or combine ingredients for more complex flavor profiles as your baby grows.
Environmental Benefits: Less Waste
Homemade baby food, especially when prepared in batches, often results in less packaging waste compared to buying individual jars or pouches of commercial baby food. By using reusable storage containers, you contribute to a more sustainable lifestyle and reduce your environmental footprint, setting a good example for your child’s future.
In summary, embracing baby puree batch cooking is not just about making food; it’s about optimizing your time, ensuring superior nutrition, saving money, reducing stress, and promoting healthy eating habits for your little one. It’s a holistic approach to infant feeding that benefits the entire family.
The 2026 Guide to Baby Puree Batch Cooking: Your Step-by-Step Plan
Now that you’re convinced of the benefits, let’s get down to the practical steps. This guide is designed to make your baby puree batch cooking session efficient, enjoyable, and successful. We’ll cover everything from planning to storage, ensuring you’re fully prepared.
Step 1: Planning Your Baby Puree Batch Cooking Session
A successful batch cooking session begins with meticulous planning. This is where you decide what to make and how much. Consider your baby’s age, dietary needs, and current preferences.
Assess Your Baby’s Stage and Preferences
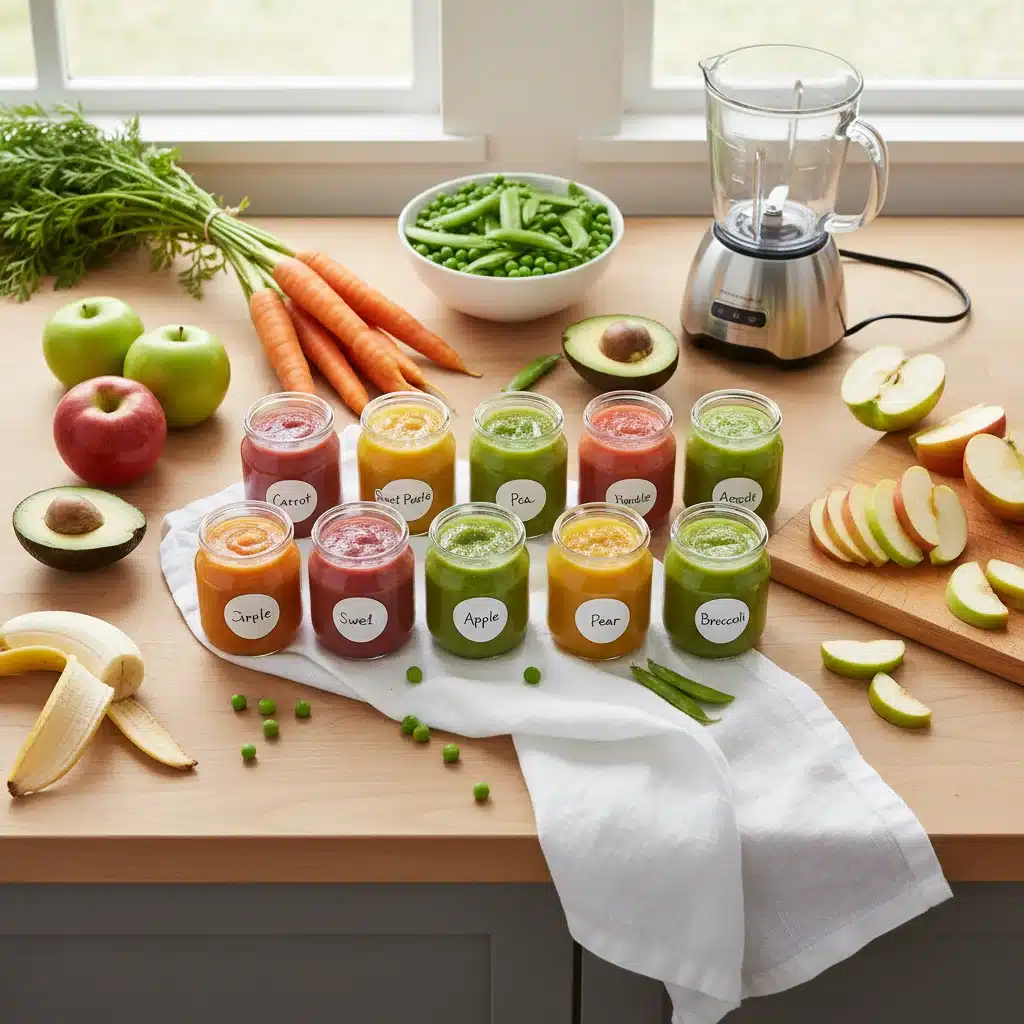
- Starting Solids (4-6 months): Focus on single-ingredient purees to easily identify any allergies. Think sweet potato, butternut squash, peas, carrots, apples, pears, and bananas.
- Developing Palate (6-8 months): Introduce more complex flavors and combinations. You can start mixing fruits and vegetables, adding mild proteins like chicken or lentils, and incorporating healthy fats like avocado.
- Textural Explorers (8+ months): Begin to offer chunkier purees, mashed foods, and finger foods. While this guide focuses on purees, remember to gradually introduce more textures.
Choose Your Ingredients Wisely
Opt for fresh, seasonal, and organic produce whenever possible. Seasonal ingredients are often more flavorful, nutritious, and cost-effective. Include a variety of colors to ensure a broad spectrum of vitamins and minerals. Think about foods that puree well and freeze effectively.
Create a Shopping List
Based on your chosen recipes and quantities, make a detailed shopping list. Don’t forget essentials like healthy oils (e.g., olive oil, avocado oil), herbs (in moderation for older babies), and spices (e.g., a pinch of cinnamon or nutmeg). Ensure you have enough storage containers.
Set Aside Dedicated Time
Block out 2-4 hours in your schedule when you’re least likely to be interrupted. A weekend afternoon is often ideal. If possible, enlist the help of a partner or family member to make the process even smoother.
Step 2: Gathering Your Tools
Having the right equipment makes all the difference in a smooth baby puree batch cooking session. Here’s what you’ll need:
- Steamer Basket or Steamer Pot: Essential for cooking most fruits and vegetables to preserve nutrients.
- High-Powered Blender or Food Processor: Crucial for achieving smooth, consistent purees. A stick blender (immersion blender) is also a great versatile tool.
- Sharp Knives and Cutting Boards: For efficient preparation of ingredients.
- Large Pots and Bowls: For cooking and mixing.
- Ice Cube Trays: Perfect for freezing individual portions of purees. Look for silicone trays for easy removal.
- Freezer-Safe Containers: Small glass jars (e.g., 4 oz), plastic containers, or freezer bags for storing larger quantities.
- Labels and Markers: Absolutely essential for dating and identifying your purees.
- Measuring Cups and Spoons: For accurate portioning and recipe adherence.
Step 3: The Preparation and Cooking Process
This is where the magic happens! Organize your workspace and tackle tasks systematically.
Wash and Prep All Produce
Before you start cooking, thoroughly wash all fruits and vegetables. Peel and chop them into uniform sizes to ensure even cooking. Keep different ingredients separate initially.
Cooking Methods for Maximum Nutrition
The best cooking methods for baby food preserve nutrients and achieve the right texture:
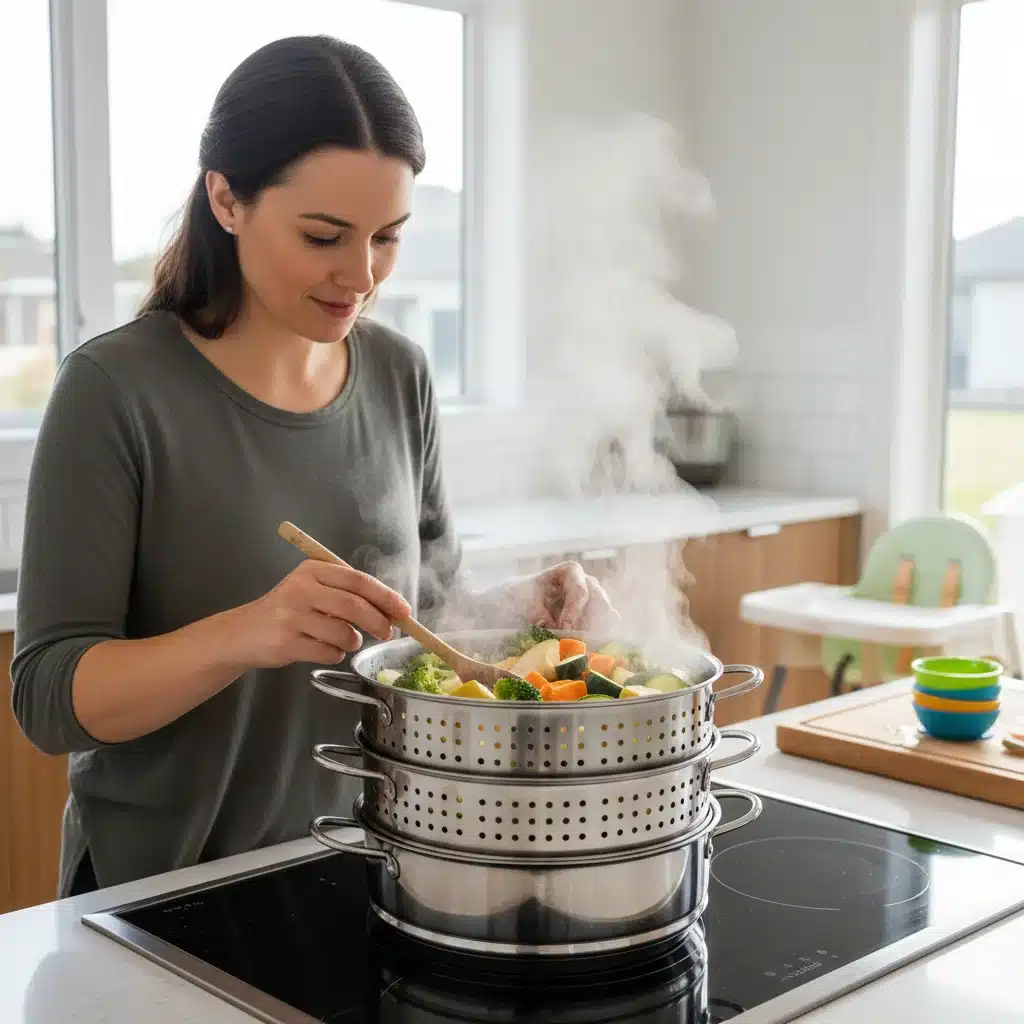
- Steaming: The gold standard for most fruits and vegetables. It cooks food gently, retaining vitamins and minerals.
- Baking/Roasting: Great for root vegetables like sweet potatoes, butternut squash, and carrots. It brings out their natural sweetness.
- Boiling: Use sparingly, as it can leach out water-soluble vitamins. If boiling, use minimal water and consider using the cooking liquid in your puree.
- Sautéing: With a little healthy oil, this can add flavor to certain ingredients for older babies.
Cook each ingredient until it’s very tender. For example, steam sweet potatoes for 15-20 minutes, apples for 10-15 minutes, and peas for 5-7 minutes.
Pureeing to Perfection
Once cooked, transfer the ingredients to your blender or food processor. For a smooth puree, you’ll likely need to add some liquid. Options include:
- Cooking Water: The water used for steaming or a small amount of water from boiling.
- Breast Milk or Formula: Adds familiar flavor and nutrients.
- Filtered Water: A simple, neutral option.
- Low-Sodium Broth: For older babies (check with your pediatrician).
Start with a small amount of liquid and add more gradually until you reach the desired consistency. For younger babies, aim for a very smooth, thin consistency. As they grow, you can make it thicker or leave small, soft lumps. Process each ingredient or combination separately.
Step 4: Cooling and Portioning Your Baby Puree Batch
Proper cooling and portioning are crucial for food safety and convenience.
Rapid Cooling
After pureeing, it’s essential to cool the food down quickly to prevent bacterial growth. Divide the warm purees into smaller, shallow containers or spread them thinly on a baking sheet lined with parchment paper. Place them in the refrigerator until completely cooled (usually within an hour or two). Do not leave purees at room temperature for longer than two hours.
Portioning for Convenience
- Ice Cube Trays: The easiest way to portion. Fill each cube with puree (typically 1 oz or 2 tbsp). Once frozen solid (4-6 hours), pop them out and transfer to labeled freezer bags. This allows you to thaw just the right amount for each meal.
- Small Containers: For larger portions, fill 2-4 oz freezer-safe jars or containers. Leave a little headspace for expansion during freezing.
Step 5: Labeling and Storing for Longevity
This step is non-negotiable for safety and organization.
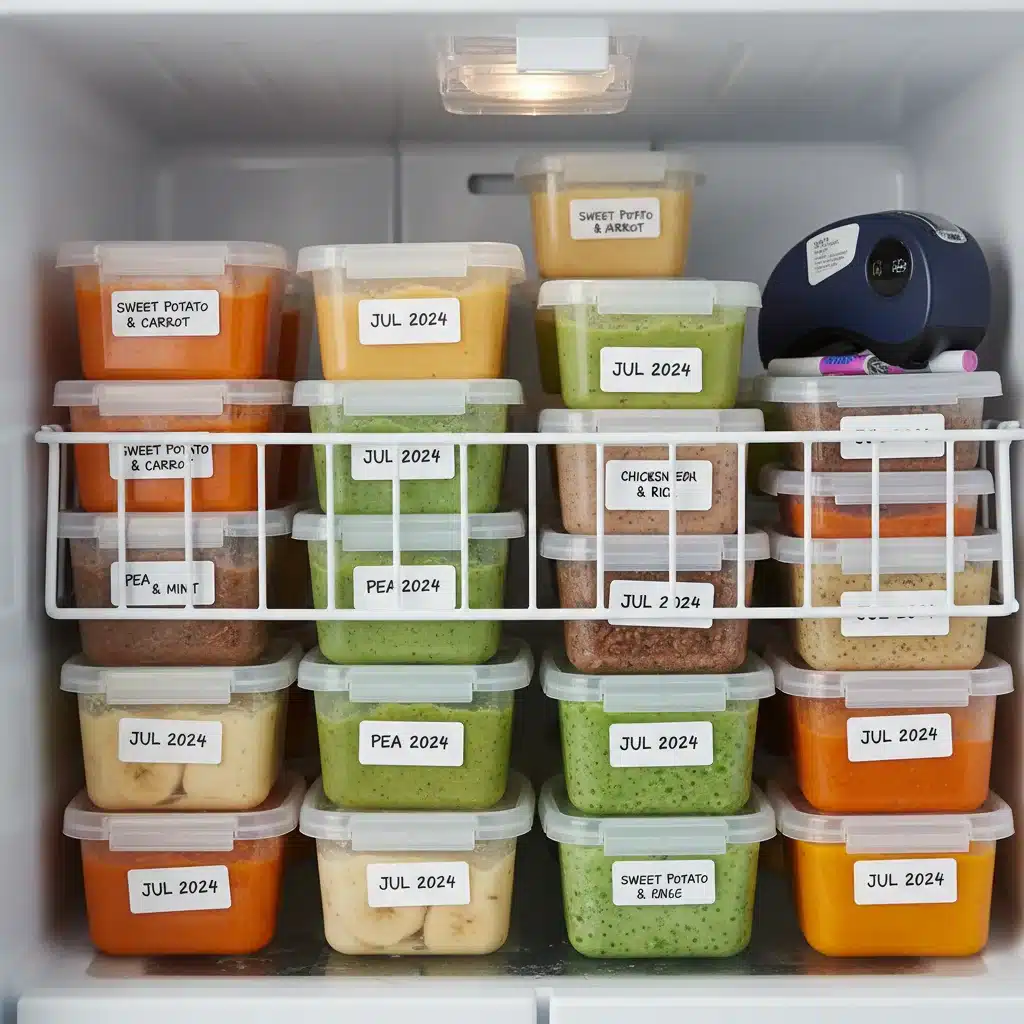
Label Everything!
Clearly label each container or freezer bag with:
- The type of food: e.g., “Sweet Potato Puree,” “Apple & Pear Blend.”
- The date it was made: This is critical for tracking freshness.
Use waterproof labels or a permanent marker. This prevents confusion and ensures you use the oldest purees first.
Storage Guidelines
- Refrigerator: Freshly made purees can be stored in an airtight container in the refrigerator for up to 3 days.
- Freezer: This is where baby puree batch cooking shines. Frozen purees can be safely stored for up to 3 months. Beyond this, they are still safe but may lose some quality and nutrients.
Organize your freezer so you can easily access and rotate your purees. First-in, first-out (FIFO) is a good rule of thumb.
Advanced Tips for Your Baby Puree Batch Cooking Journey
Once you’ve mastered the basics, consider these advanced tips to optimize your baby puree batch cooking experience even further.
Mix and Match for Variety
While single-ingredient purees are great for introducing foods, don’t be afraid to create combinations. Once your baby has successfully tried individual ingredients, you can mix them to create new flavors. Sweet potato and apple, pea and pear, chicken and carrot – the possibilities are endless. This keeps mealtime exciting and exposes your baby to a wider range of micronutrients.
Incorporate Healthy Fats and Proteins
As your baby grows, their need for healthy fats and proteins increases. When pureeing, consider adding:
- Healthy Fats: A drizzle of olive oil, avocado oil, or a dollop of unsalted butter (for older babies).
- Proteins: Cooked and pureed chicken, turkey, beef, lentils, or beans. Full-fat plain yogurt (after 6 months) can also be a great addition.
Always consult with your pediatrician before introducing new food groups, especially allergens.
Spice it Up (Gently!)
For older babies, gentle spices and herbs can introduce new dimensions of flavor. A pinch of cinnamon with apple puree, a tiny bit of nutmeg with sweet potato, or a hint of dill with pea puree can be wonderful. Avoid salt, sugar, and strong, spicy flavors.
Consider Texture Progression
Remember that purees are just one step in the weaning journey. As your baby develops, gradually introduce thicker purees, mashed foods, and eventually soft finger foods. Your blender can help you achieve different textures by simply processing for less time or adding less liquid. Don’t get stuck on perfectly smooth purees forever.
Safety First: Thawing and Reheating
- Thawing: Always thaw frozen purees in the refrigerator overnight or use the defrost setting on your microwave. Never thaw at room temperature.
- Reheating: Heat purees until they are steaming hot throughout, then let them cool to a safe, lukewarm temperature before serving. Stir well to ensure even heating and check the temperature on your wrist.
- Discard Leftovers: Any food that has been served to your baby and not eaten should be discarded. Do not refreeze thawed purees.
Keep a Food Journal
Especially when introducing new foods, a food journal can be incredibly helpful. Note down what your baby ate, when, and any reactions (positive or negative). This helps track preferences, identify potential allergies, and inform your future baby puree batch cooking plans.
Troubleshooting Common Baby Puree Batch Cooking Challenges
Even with the best planning, you might encounter a few hurdles. Here’s how to overcome common issues:
My Puree is Too Runny/Thick
- Too Runny: If your puree is too watery, try adding a small amount of baby cereal (oatmeal or rice) to thicken it. You can also add more of the cooked solid ingredient.
- Too Thick: Gradually add more breast milk, formula, cooking liquid, or filtered water until you reach the desired consistency.
My Baby Doesn’t Like a Certain Puree
Don’t despair! It can take multiple exposures (sometimes 10-15 tries) for a baby to accept a new food. Try:
- Mixing it: Combine a less-liked puree with one your baby loves.
- Changing the texture: Maybe it’s too smooth or too lumpy.
- Reintroducing later: Sometimes a break and a reintroduction a few weeks later works wonders.
- Adding flavor: A pinch of a mild spice might make it more appealing.
I’m Running Out of Freezer Space
This is a common issue with baby puree batch cooking! To maximize space:
- Use freezer bags: Once purees are frozen solid in ice cube trays, transfer them to labeled freezer bags. They take up less space than rigid containers.
- Stack strategically: Invest in freezer organizers or stack bags and containers efficiently.
- Don’t over-batch: Adjust your quantities to match your freezer capacity.
My Purees Are Icy or Have Freezer Burn
This usually indicates improper storage:
- Airtight containers: Ensure your containers or bags are truly airtight to prevent ice crystals and freezer burn.
- Remove air: When using freezer bags, press out as much air as possible before sealing.
- Proper cooling: Make sure purees are completely cool before freezing.
I’m Worried About Allergens
Always introduce new foods one at a time, waiting 3-5 days between each new food to observe for any allergic reactions. If you have a family history of allergies, discuss a plan with your pediatrician. The beauty of baby puree batch cooking is that you control the ingredients, allowing you to carefully manage introductions.
The 2026 Outlook: Innovations in Baby Puree Batch Cooking
As we look to 2026 and beyond, the world of baby puree batch cooking continues to evolve. While the core principles remain the same, new technologies and approaches are making it even easier for parents:
- Smart Kitchen Appliances: Expect to see more integrated blenders with steaming functions, pre-programmed settings for baby food, and even app connectivity for recipe guidance and nutritional tracking.
- Sustainable Storage Solutions: The demand for eco-friendly and non-toxic storage options will continue to grow, with innovations in glass, silicone, and plant-based plastics.
- Subscription Boxes for Ingredients: Services that deliver pre-portioned, organic produce specifically for baby food batch cooking could become more widespread, simplifying the shopping step.
- Personalized Nutrition Apps: AI-driven apps that analyze your baby’s age, growth, and dietary needs to suggest optimal batch cooking recipes and ingredient combinations.
- Community Sharing Platforms: Online communities and platforms where parents can share baby puree batch cooking recipes, tips, and even organize ingredient swaps.
These innovations will further streamline the process, making healthy, homemade baby food accessible to even more families. The commitment to providing the best for our little ones, combined with the desire for efficiency, will continue to drive these exciting developments.
Conclusion: Empowering Your Baby’s Nutritional Journey with Batch Cooking
Embarking on the journey of baby puree batch cooking is one of the most empowering decisions you can make as a parent. It’s a testament to your dedication to your child’s health and well-being, without sacrificing your own sanity or precious time. By following this 2026 guide, you’ve learned how to transform a potentially overwhelming task into an efficient, rewarding ritual.
Remember, the goal is not perfection, but progress. Each batch of homemade puree you prepare is a step towards a healthier, happier baby, and a more organized, less stressed you. The ability to pull out a pre-portioned, nutritious meal from the freezer, knowing exactly what’s in it, offers unparalleled peace of mind. You’re not just feeding your baby; you’re nurturing their growth, developing their palate, and instilling healthy eating habits that will last a lifetime.
So, gather your ingredients, fire up your blender, and embrace the power of baby puree batch cooking. You’re not just making food; you’re making time, making memories, and making a profound difference in your baby’s early development. Happy cooking, and enjoy those precious moments with your little one!


